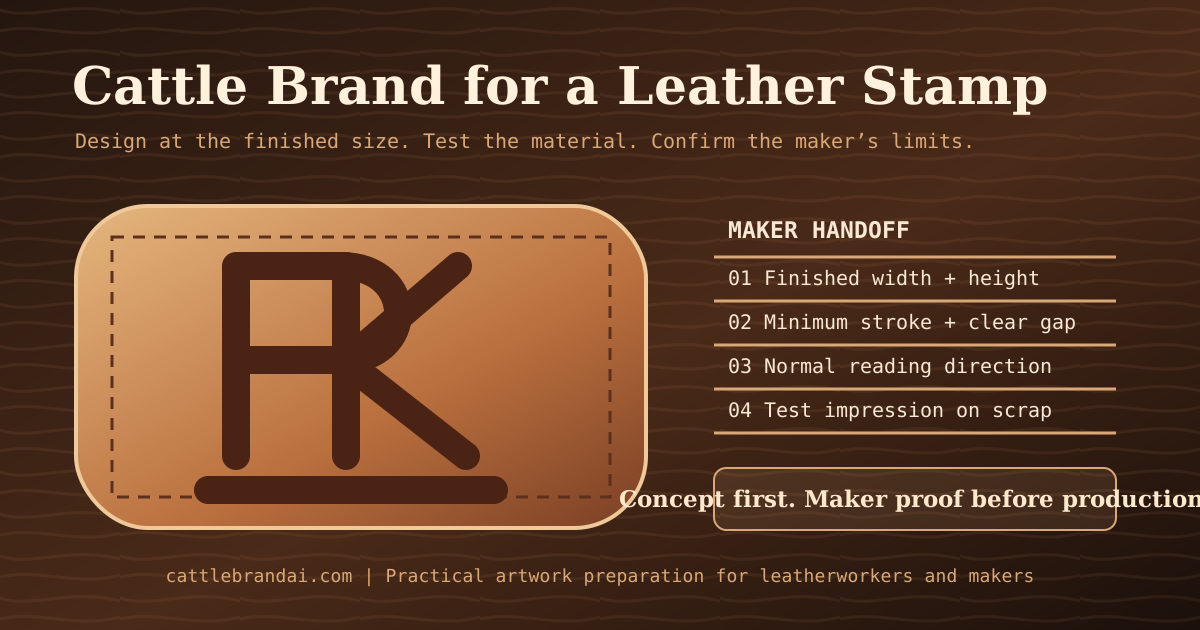
A cattle-brand concept can become a strong leather stamp, maker’s mark, or hot-branding tool, but the digital image still needs to be adapted to the material and finished size. A design that looks clear at full screen may lose gaps, fill small counters, or become difficult to press when reduced to a one-inch patch.
This guide helps you prepare a concept for review by a leather-stamp or branding-iron maker. It is not a substitute for the maker’s production specifications.
Start With the Exact Use
“Leather stamp” can describe different tools and processes:
- A steel stamp struck with a mallet
- A press stamp
- A heated branding iron
- A brass or magnesium plate
- An embossing or debossing die
Also identify the leather:
- Vegetable-tanned leather
- Chrome-tanned leather
- Finished or coated leather
- Firm saddle leather
- Soft garment leather
The required depth, temperature, pressure, and artwork treatment can differ. Tell the maker the intended process and material before changing the design.
Choose the Finished Size Before Detailing
Specify the target width and height in inches or millimeters. Do not rely on the dimensions of the PNG or SVG canvas.
A mark for a small hat patch may need fewer details than the same identity used on a large saddle panel. If you need several sizes, ask whether one design can scale down cleanly or whether a simplified small-size version is necessary.
Create a paper proof at the intended physical size:
- Place the design in a document at the target dimensions.
- Print at 100 percent scale.
- View it from a normal working distance.
- Check whether every gap and letter remains distinct.
Favor Clear Strokes and Open Spacing
For small leather marks, clarity normally improves when the design has:
- Consistent main stroke width
- Rounded or controlled internal corners
- Clear space between neighboring letters
- Few tiny enclosed areas
- A recognizable outer silhouette
- No hairline details
The correct minimum width and gap depend on the tool and manufacturing method. Ask the selected maker for physical measurements rather than applying a universal pixel rule.
If your design needs simplification, use a prompt such as:
Preserve the CK initials and their current relationship. Remove decorative texture, use consistent bold strokes, open the narrow center gap, and keep the design readable as a small leather stamp.
Decide Between a Cattle Brand and a Ranch Logo
A livestock-style brand is often a compact arrangement of letters, numbers, bars, rockers, or simple shapes. A ranch logo may include a name, date, animal illustration, landscape, rope border, or color.
For leather goods:
- Use the cattle-brand mark for small patches, maker’s marks, and discreet stamps.
- Use the ranch logo for large patches, packaging, signage, and merchandise where additional detail can remain visible.
If the logo is too detailed, extract one monogram or symbol rather than shrinking the entire composition. See Ranch Logo vs. Cattle Brand for a practical comparison.
Generate a Cleaner Starting Concept
In the AI Cattle Brand Generator, include the intended use in the prompt:
Interlocked initials WB as a simple cattle-brand-style leather maker’s mark, thick uniform black strokes, open spacing, no scenery, no extra words, plain white background.
If you already drew the relationship, use Sketch Board and state the exact letters:
The sketch contains W and B. Preserve their overlap at one central connection point, but redraw the strokes evenly for a small leather stamp.
The generated image is a concept. Review the actual contours and have the maker confirm whether tracing, path cleanup, bridging, or orientation changes are required.
Prepare the Handoff Files
A useful package can contain:
| File | Use |
|---|---|
| Black-on-white PNG | Fast visual approval |
| Transparent PNG | Placement mockups and size review |
| Image-only PDF | Easy printing at a stated scale |
| SVG | Scalable handoff container; confirm whether the maker requires paths |
| Brand sheet | Selected concept, prompt, and project context |
| Notes PDF | Design description and refinement history |
The CattleBrandAI SVG export may contain a raster image in an SVG container; it is not guaranteed to be manually traced production vector paths. State this clearly and let the maker decide whether redrawing is needed.
Paid generations can use the Export Package to organize these review materials. Keep the approved candidate and the production proof in the same project folder.
Ask for a Test Impression
Before ordering multiple tools or applying the mark to finished goods, test it on scrap from the same leather supply.
Review:
- Whether narrow gaps remain open
- Whether counters fill
- Whether the edges are clean
- Whether the impression depth is even
- Whether the final reading direction is correct
- Whether heat or pressure changes the apparent stroke width
Record the test conditions if the process will be repeated.
Confirm Orientation With the Maker
A finished stamp or branding head may need reversed geometry so the impression reads correctly. Send artwork in the direction you want the final leather impression to read and ask the maker how they handle production orientation.
Do not create an unlabeled mirrored file. If a reversed version is requested, label it clearly for production review.
Final Checklist
- Intended tool and leather type are documented
- Finished physical size is specified
- Small-size paper proof is readable
- Narrow gaps and tiny details are identified
- Maker has confirmed minimum stroke and spacing
- File contents are accurately described
- Production orientation is confirmed
- Test impression is approved
- Final proof and source files are archived
For a more detailed fabrication handoff, use the branding iron artwork checklist. If line weight is the main concern, review the line weight and spacing guide before requesting a quote.